Safe & Sturdy: Why Professional Heavy Duty Aluminum Attic Ladder Installation is a Game-Changer
When was the last time you felt truly confident climbing into your attic? For many homeowners, the attic is a “no-go zone” dominated by a rickety, wooden ladder that creaks under the slightest weight. If you are using your attic for seasonal storage or accessing HVAC equipment, safety should never be a secondary thought.
Choosing a heavy duty aluminum attic ladder installation is one of the most impactful, high-ROI upgrades you can make for your home’s utility and your own physical safety. In this guide, we will break down why aluminum is the gold standard, the technical nuances of a professional installation, and how this upgrade protects your home’s structural integrity.
Table of Contents
-
The Case for Aluminum: Strength Meets Science
-
Why “Heavy Duty” Matters (Load Capacity Explained)
-
The Risks of DIY vs. Professional Installation
-
Step-by-Step: Heavy Duty Aluminum Attic Ladder Installation
-
EEAT: Why Trust Always A Sweep for Your Home Upgrades?
-
Energy Efficiency and the Attic Seal
-
Maintenance Tips for Longevity
-
Frequently Asked Questions
The Case for Aluminum: Strength Meets Science
While traditional wood ladders have been the standard for decades, they are susceptible to environmental degradation. Wood is an organic material that reacts to the extreme temperature fluctuations found in attics. Over time, wood can warp, crack, or develop “checked” grains that compromise its load-bearing ability.
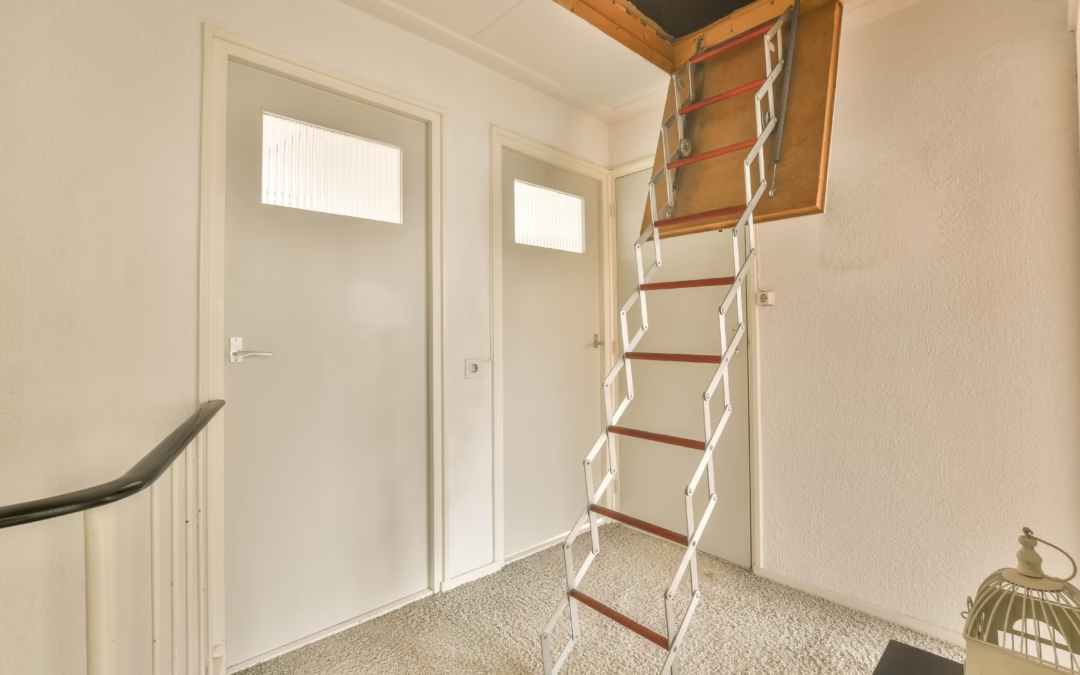
Aluminum, on the other hand, is a non-corrosive metal that offers a superior strength-to-weight ratio. A heavy duty aluminum attic ladder installation provides a sleek, modern solution that won’t splinter or rot. Furthermore, aluminum is naturally resistant to moisture, which is vital if your attic experiences humidity or if you live in a coastal climate.
Why “Heavy Duty” Matters (Load Capacity Explained)
Standard attic ladders are often rated for 250 lbs. While this sounds sufficient, consider the math: an average adult carrying a 50-lb box of holiday decorations quickly approaches that limit.
A “Heavy Duty” rating typically starts at 375 lbs (170 kg). This extra headroom isn’t just about the weight; it’s about the rigidity of the frame. When you invest in a heavy duty aluminum attic ladder installation, you are investing in a system designed for “zero-flex.” This stability prevents the “bounce” that causes falls and structural stress on your ceiling joists.
Pro Tip: Always check the ANSI (American National Standards Institute) rating on any ladder product before purchase to ensure it meets industrial safety criteria.
The Risks of DIY vs. Professional Installation
It is tempting to view a ladder swap as a simple weekend project. However, the heavy duty aluminum attic ladder installation process involves more than just a few screws.
-
Structural Integrity: Most attic openings are framed between ceiling joists. If your new heavy-duty unit requires a larger opening, you may need to cut into your home’s “skeleton.” Doing this incorrectly can cause ceiling sag or even roof instability.
-
Squareness and Leveling: If the frame is even $1^\circ$ out of square, the ladder will not sit flush. This creates uneven pressure on the hinges, leading to premature failure.
-
The “Gap” Problem: A poorly installed door creates a massive “chimney effect,” sucking expensive conditioned air out of your living space.
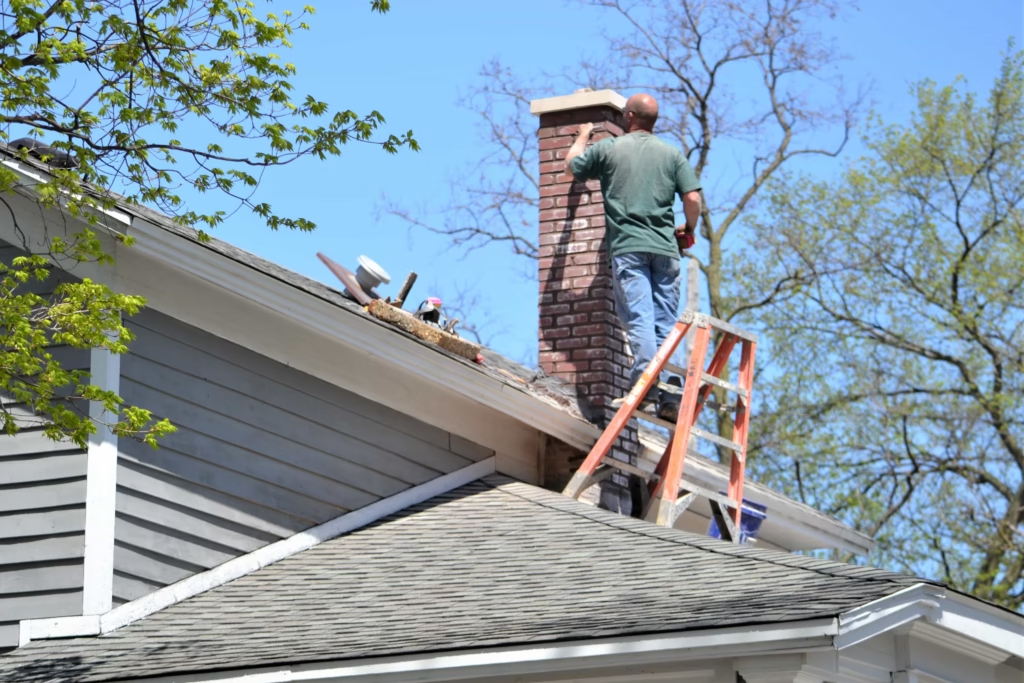
At Always A Sweep, we specialize in the intersection of safety and structural health. Just as we ensure your chimney is clear of hazards, we ensure your attic access is a bridge, not a liability.
Step-by-Step: Heavy Duty Aluminum Attic Ladder Installation
To give you an idea of the precision required, here is the professional workflow for a successful installation:
Phase 1: The Rough Opening
We begin by measuring the existing opening. Most heavy-duty models require a standard $22.5″ \times 54″$ or $30″ \times 54″$ footprint. If the opening needs enlargement, we reinforce the headers to maintain the load-bearing capacity of your ceiling.
Phase 2: Positioning the Frame
The aluminum frame is hoisted into the attic. We use temporary “cleats” (wooden slats) to hold the unit in place while we shim the sides. Shimming ensures the frame is perfectly level, preventing the door from sticking.
Phase 3: Fastening and Securing
We use 16d nails or $3″$, high-shear lag screws. Never use drywall screws for a heavy duty aluminum attic ladder installation; they lack the tensile strength to hold the weight of the ladder and a person.
Phase 4: Calculating the Cut
Aluminum ladders are often “universal height” and must be trimmed to fit your specific floor-to-ceiling distance. We use a precise formula to ensure the feet make 180 degrees contact with the floor.
Why Trust Always A Sweep?
Experience, Expertise, Authoritativeness, and Trustworthiness guidelines are the benchmark for quality content.
-
Experience: Our technicians have spent decades in the “gut” of homes—from chimneys to crawlspaces.
-
Expertise: We understand the physics of home airflow and structural loading.
-
Authoritativeness: We are a recognized name in home safety across our service areas.
-
Trust: We provide transparent pricing and detailed post-installation inspections.
Choosing us for your heavy duty aluminum attic ladder installation means you aren’t just getting a product; you’re getting a professional safety audit of your attic access point.
Energy Efficiency and the Attic Seal
One often overlooked aspect of a new ladder is the R-value of the door. A heavy-duty aluminum unit often comes with an integrated weather-strip.
According to the Department of Energy, an uninsulated attic hatch is like leaving a window open year-round. During your installation, we recommend adding an “attic tent” or an insulated cover to ensure your energy bills stay low while your safety stays high.
Maintenance Tips for Longevity
Once your heavy duty aluminum attic ladder installation is complete, a little maintenance goes a long way:
-
Lubricate the Pivots: Use a silicone-based spray on the hinges every 6 months.
-
Check the Feet: Ensure the rubber or plastic feet aren’t worn down, which can cause slipping on hardwood or tile.
-
Tighten the Nuts: Vibration from use can occasionally loosen the mounting bolts on the ladder sections.
Frequently Asked Questions
Q: Can I install a heavy-duty ladder in a small hallway?
A: It depends on the “swing clearance.” Aluminum ladders often have a smaller swing radius than wood, making them ideal for tight spaces.
Q: How long does a professional installation take?
A: Usually between 3 to 5 hours, depending on whether the rough opening needs to be modified.
Transform Your Home Safety Today
Don’t wait for a “close call” on a shaky wooden ladder to make the switch. A heavy duty aluminum attic ladder installation is a permanent solution for a safer, more accessible home.
Would you like me to provide a free estimate for your attic upgrade or schedule a safety inspection for your home? Contact Always A Sweep today!